Creating Context Menu Shortcuts for Windows

How To: Create Context Menu Shortcuts for Windows
Have you ever thought about having some utility, at a click of a button, a tool that assists you in your work? Something that would help your productivity, and not impede or hinder your progress? How about something to help you shortcut part of the process or simplify a step?
Creating a ‘Windows Context Menu’ shortcut might be a strategy that you can use and easily integrate into your process. It’s much simpler than you may think, let me show you how.

There’s a context menu shortcut that I like to use often for my projects but with this guide you can create whatever you need with a few components.
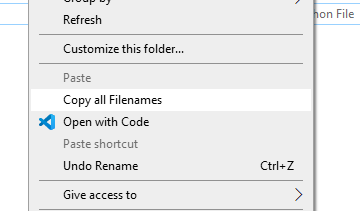
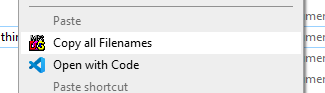
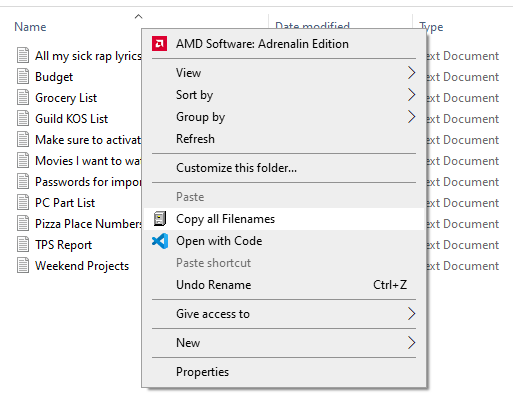
First let me tell you what my script does. The shortcut I use allows me to copy every filename within a folder. All I do is right-click anywhere inside my folder and select the option “Copy all Filenames”. Then the command runs a script that copies every file name (this script does not include folders, though you can change that if you wish) and allows me to paste those file names + extensions, where I may need to paste them.
Here’s an example output:
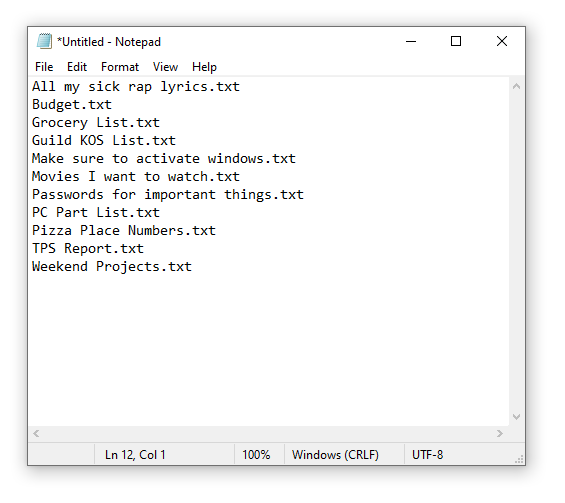
I kept this script simple to suit my needs, but you can do much more advanced things with this script, using a few modifications; including getting the entire size of the files, the date it was created or modified, and anything else you may dream up. For now I’m going to try and keep it simple.
Getting Started
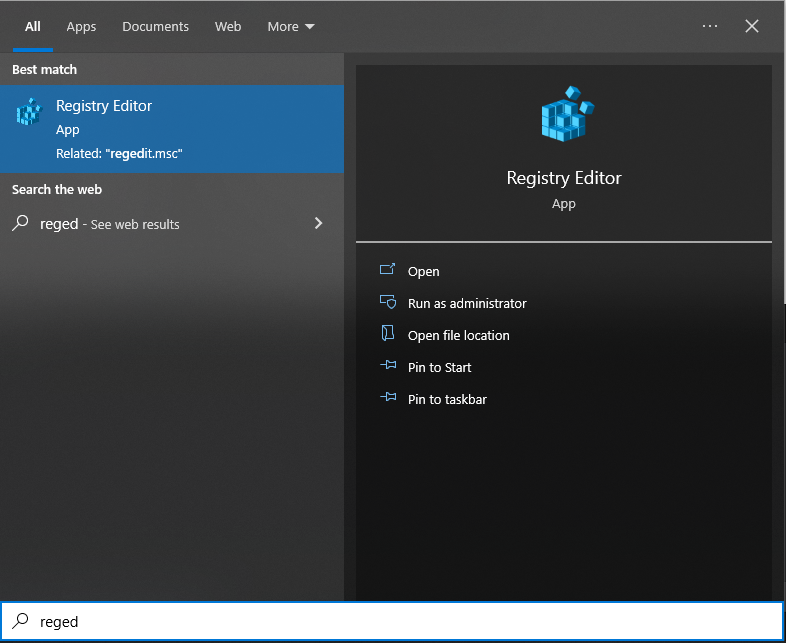
So to get started open “Registry Editor” / “regedit”.
There is a lot of things you can do to create issues with your computer in “Regedit” so please be careful. As long as you follow along and don’t delete anything important, you’ll be fine!
The next step is to navigate to the path below within “Regedit”, sort of like how you use the input in a browser to go to a website URL, you can type or copy/paste the path below, to the top bar of the program and press enter.
Copy Path
Computer\HKEY_CLASSES_ROOT\Directory\Background\shell\
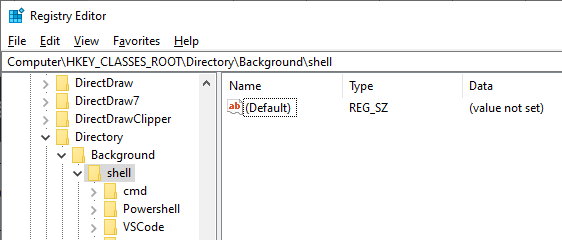
You should see some of the defaults when you land there, such as ‘cmd’, ‘Powershell’, and maybe programs you’ve installed that have Context Menu shortcuts, in my case, ‘VSCode’.
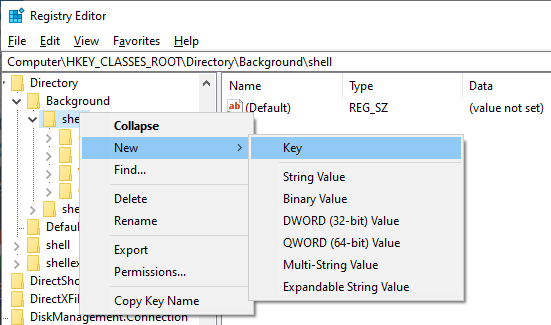
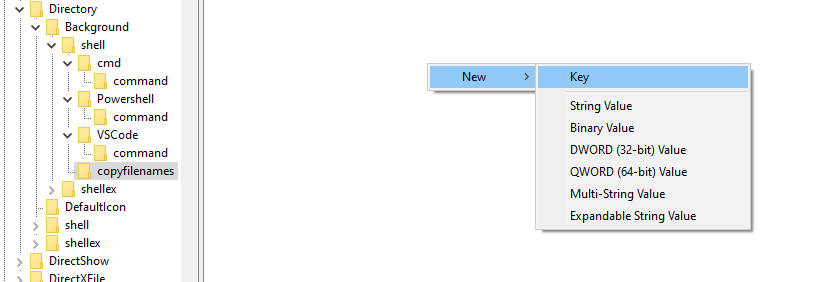
Next we’ll create a new sub-folder ‘Key’ under ‘shell’. First, select the ‘shell’ folder on the left directory menu, then right-click, and go to the menu option ‘New’ then in the sub-menu: ‘Key’.
I named my new key ‘copyfilenames’. Note: This new Keys name will be our shortcut/commands name, when we open the ‘Context Menu’.

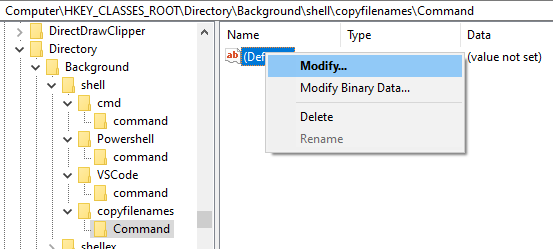
Select your commands name, then within the right side of the program, right-click and create a new Key. Then, edit the name of this new sub-Key, ‘Command’.
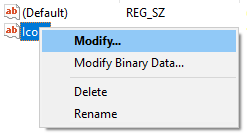
Within the ‘Command’ key, right-click the ‘(Default)’ String Value, and click ‘Modify’.
We want to modify this value to add the script that allows us to copy all the filenames, so when we right-click and open our Context Menu within Windows Explorer / a folder, we will be able to select the option, then run the command.
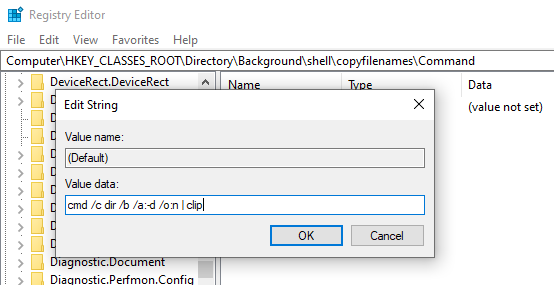
Copy Value Data
cmd /c dir /b /a:-d /o:n | clip
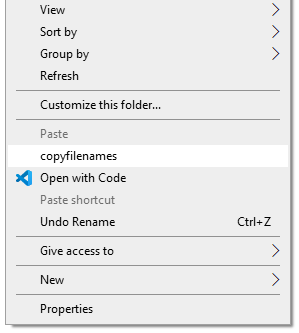
Once you press ‘OK’, you can test if it works, by right-clicking into a folder - with files, and viewing the context menu. There should be your new option there for us to click on. Left-click the command and test it out! Paste into your favorite text editor, like Notepad.

Congrats!
We’ve successfully created a command for our Context Menu, that will allow us to copy all of the filenames within a folder. But we can do a few more things to clean up our command and make it easier to understand what it will do, when we click on it.
Let’s do two more things to make this a cleaner looking context menu option.
- Rename the Command; to something easy to understand
- Add an icon to the command; to something related to the function
Two More Things
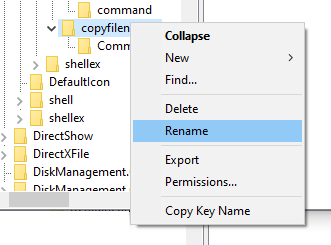
Click on the main Key, the one called ‘copyfilenames’. Since this is what we see within the context menu, let’s rename it to something better, I’m going to use: ‘Copy all Filenames’. In “Registry Editor”, right-click the Key and click ‘Rename’.
Our first task is complete, it looks better already. Test it out, in your own Context Menu.
Next, let’s add an icon. Windows gives you a lot to choose from and they’re nested within ‘.dll’ files that are used by the operating system. Click into the freshly named, ‘Copy all Filenames’ key, and this time create a new ‘String Value’.
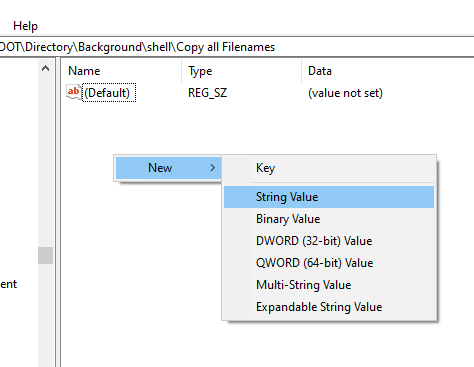
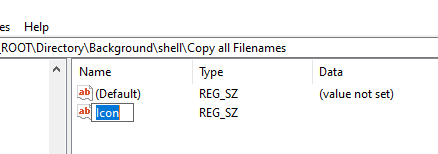
Name this new string, ‘Icon’.
Where are the Icons?
Before we add the icon, first, let’s talk about the ‘.dll’ files we have at our disposal. I found a great website that educated me on what we can use and maybe you’ll find it useful too. Windows icons locations. Where are the default icons found?
Here’s a few snippets from their article, of what we can use to add icons:
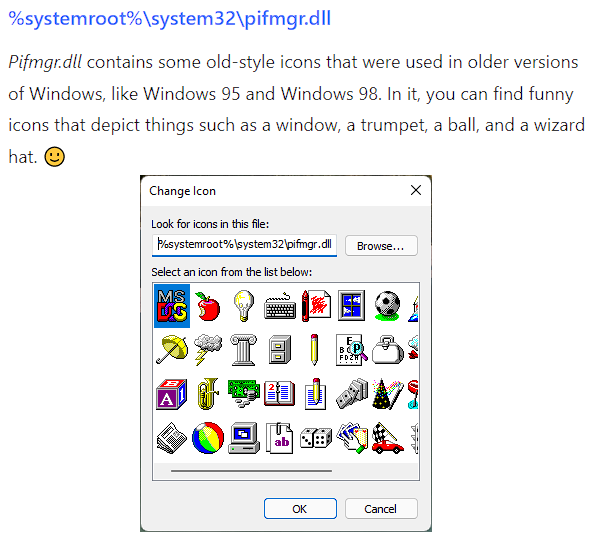
Copy pifmgr.dll path
%systemroot%\system32\pifmgr.dll
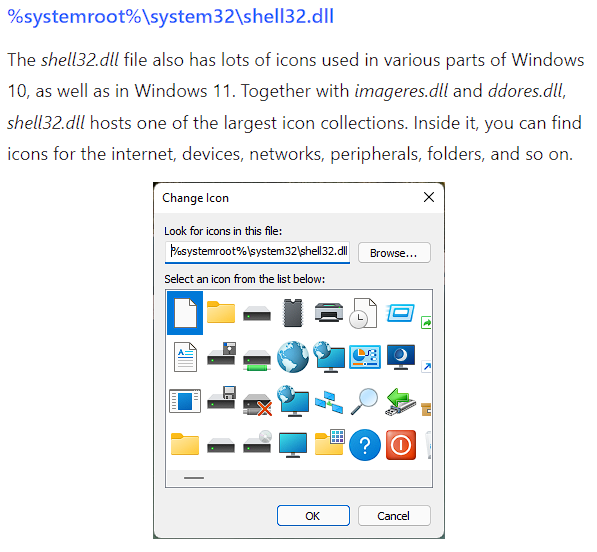
Copy shell32.dll path
%systemroot%\system32\shell32.dll
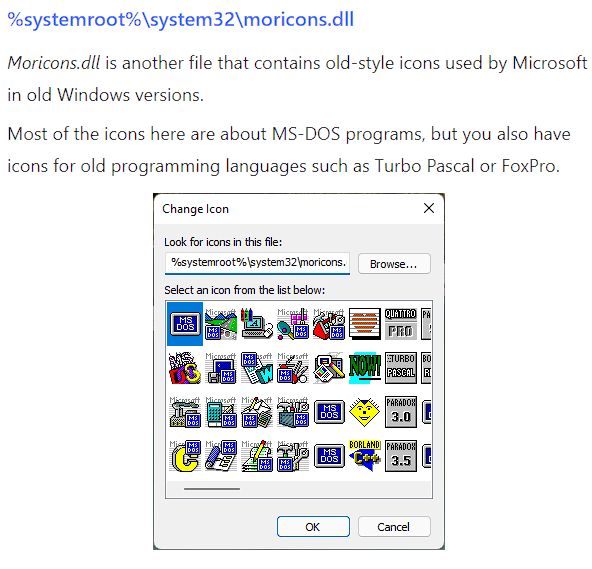
Copy moricons.dll path
%systemroot%\system32\moricons.dll
Adding an Icon
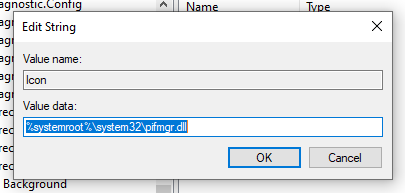
These are some examples to get us going and there’s plenty to choose from. Explore other ‘.dlls’ or figure out how to create your own. So let’s add the ‘.dll’ path and see what icon appears; right-click and modify the ‘Icon’ string.
Next, paste in the ‘.dll’ path you chose, I’ve gone with ‘%systemroot%\system32\pifmgr.dll’.
Again, the ever important step - let’s test what happens:
That is an interesting icon, but I wanted something different. So our next question is, How can we target specific icons within the ‘.dll’ files?
This is a two part question, let’s break it down:
- What do we need to type to target the icon in the data that we add to the string value.
- What can we use to find the icon we want?
Using a Specific Icon
For the first part of the question, to target the icon in the data, all we need to add is a comma, followed by a ‘-‘ by the icon ID.
This looks something like,
"%systemroot%\\system32\\pifmgr.dll, -100"
We’re shown this icon when we add the ‘.dll’ because by default it will use the first id.
Resource Hacker
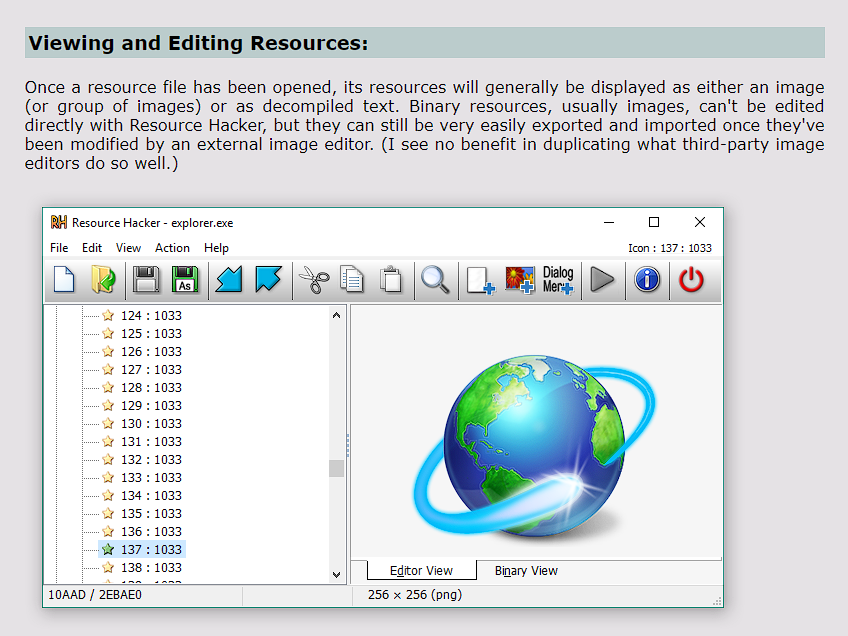
For the second part of the question, a tool we can use to find the icon IDs inside of the ‘.dll’ file, is called “Resource Hacker”.
A quick description of “Resource Hacker” is: A GUI decompiler, which will enable us to view resources in executables (*.exe; *.dll; *.scr; etc). There are other uses, such as CLI functionality, but all we need to use it for is to view icons ids, within the ‘.dlls’.
You can download “Resource Hacker” at this link: http://www.angusj.com/resourcehacker/#download
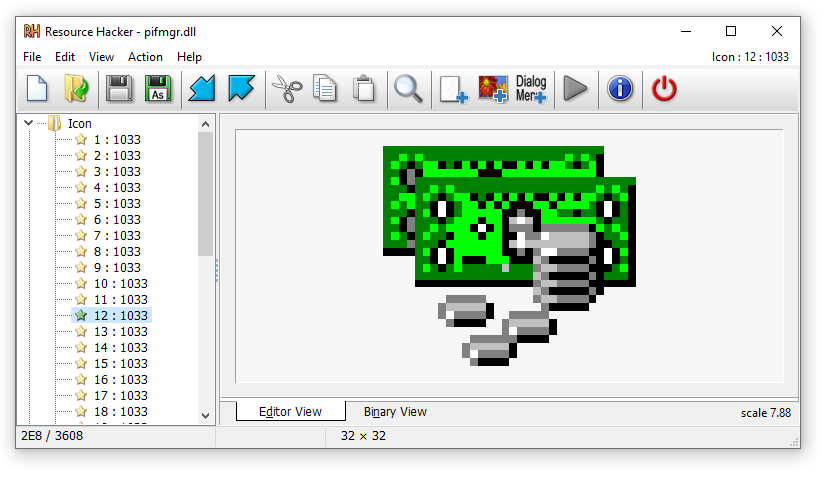
With “Resource Hacker” let’s explore the icons in this file: “%systemroot%\system32\pifmgr.dll”
This might be good, if we were making a context menu for some Stock Market project.
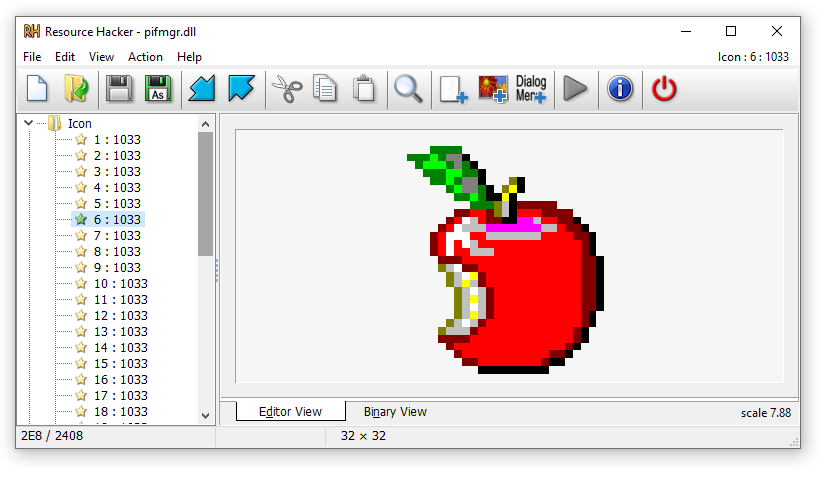
This might be good, if we were making a context menu for some ‘Big Apple’ project.
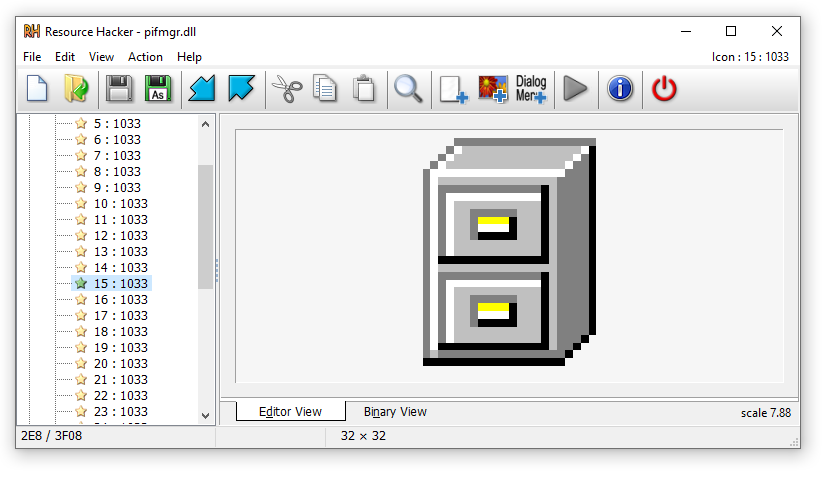
This one feels right for a file name copier command.
Finally
So we found the icon we want to use, the id of that filing cabinet is ‘15’. To use that id of 15, we need to add “, -15” at the end of our ‘.dll’ path and test it.
So click into your String Value one last time, and modify it, and append “,-15” to the end of the path. Note: if you used a different ‘.dll’ you won’t see the same icon.

Copy pifmgr.dll,-15 path
%systemroot%\system32\pifmgr.dll, -15
And as always, Test!
Just the Beginning
This is just an example of what you can do. There are a ton of possibilities and ways to improve your productivity through a little creativity, within the Context Menu, here are a few more ideas:
- Rename every file in a folder
- Open Command Prompt and ‘cd’ / Change Directory to the current folder
- An option for Defragging a Drive
- Open any type of text document in Notepad
- Quick launch a Python Script, Program, or Batch file
Go make your work & life easier!